Mac App Store
Install the dedicated IPTVX Media Server app and start recording instantly.
The Mac server uses the same commands and UI as the NAS version.
IPTVX Media Server
IPTVX Media Server lets you record, stream, and organize your library with the same elegant experience you expect from IPTVX. Install it on a NAS or on your Mac, then access it locally or remotely with secure access.
Mac install
Download from the Mac App Store and keep the same server experience everywhere.
Install the dedicated IPTVX Media Server app and start recording instantly.
The Mac server uses the same commands and UI as the NAS version.
Quick walkthrough to pair the app with your IPTVX Server.
NAS install
Choose Synology SPK or the Linux multi-arch package. Docker is not required.
Download the package for your NAS, upload it to your device, then install over SSH.
db31463a8341eda2723888a24b3691f3766750b9d5e741903f4d77e9366f61951ce3fe9630e45cf4a200a1876e42d8445f3cdcbd2791cac29d312dc68187bab2Optional verify on NAS after upload:
sha256sum /path/to/iptvx-server-1.0-noarch.spksha256sum /path/to/iptvx-server-1.0-linux-multiarch.tar.gziptvx-server-1.0-noarch.spk to your NAS.ssh <YOUR_USER>@<NAS_IP>sudo synopkg install /volume1/homes/<YOUR_USER>/Downloads/iptvx-server-1.0-noarch.spksudo synopkg start iptvx-serverServer installed. Open UI at http://<NAS_IP>:9090/.
Default storage: /volume1/@appdata/iptvx-server/ and /volume1/@appdata/iptvx-server/recordings/.
Logs and stop:
sudo tail -f /var/packages/iptvx-server/var/server.logsudo tail -f /var/log/synopkg.logsudo synopkg stop iptvx-serverWorks on x86_64, arm64, armv7 when custom binaries are allowed.
cd ~).ssh <YOUR_USER>@<NAS_IP>cd ~tar -xzf /path/to/iptvx-server-1.0-linux-multiarch.tar.gzcd iptvx-serverchmod +x ./start.sh./start.shServer installed. Open UI at http://<NAS_IP>:9090/.
Logs and stop:
tail -f server.logpkill -f iptvx-serverUpdates
Run these updates after the NAS package installation flow above.
ssh <YOUR_USER>@<NAS_IP>sudo synopkg stop iptvx-serversudo synopkg uninstall iptvx-serversudo synopkg install /volume1/homes/<YOUR_USER>/Downloads/iptvx-server-1.0-noarch.spksudo synopkg start iptvx-serversudo synopkg status iptvx-serverKeep data and recordings in place: /volume1/@appdata/iptvx-server/.
config.env.start.sh.ssh <YOUR_USER>@<NAS_IP>pkill -f iptvx-servermkdir -p ~/iptvx-server-updatecd ~/iptvx-server-updatetar -xzf /path/to/iptvx-server-1.0-linux-multiarch.tar.gzcd iptvx-serverchmod +x ./start.shnohup ./start.sh > server.log 2>&1 &ss -ltnp | grep :9090 || netstat -ltnp | grep :9090At the moment on NAS, the port cannot be changed from the web UI: update it in config.env.
For Synology SPK:
sudo synopkg stop iptvx-serversudo sh -c "sed -i -E 's/^PORT=.*/PORT=9091/' /var/packages/iptvx-server/target/config.env"sudo synopkg start iptvx-servercurl -i http://<NAS_IP>:9091/api/statusConfigurable values in the same file:
PORTTOKENRECORDINGS_DIRENABLE_UIFor Linux tar.gz package:
config.env in the installed folderPORT=...start.shcd ~/iptvx-server/iptvx-serversed -i -E 's/^PORT=.*/PORT=9091/' config.envnohup ./start.sh > server.log 2>&1 &curl -i http://<NAS_IP>:9091/api/statusAfter changing the port, remember to:
What you get
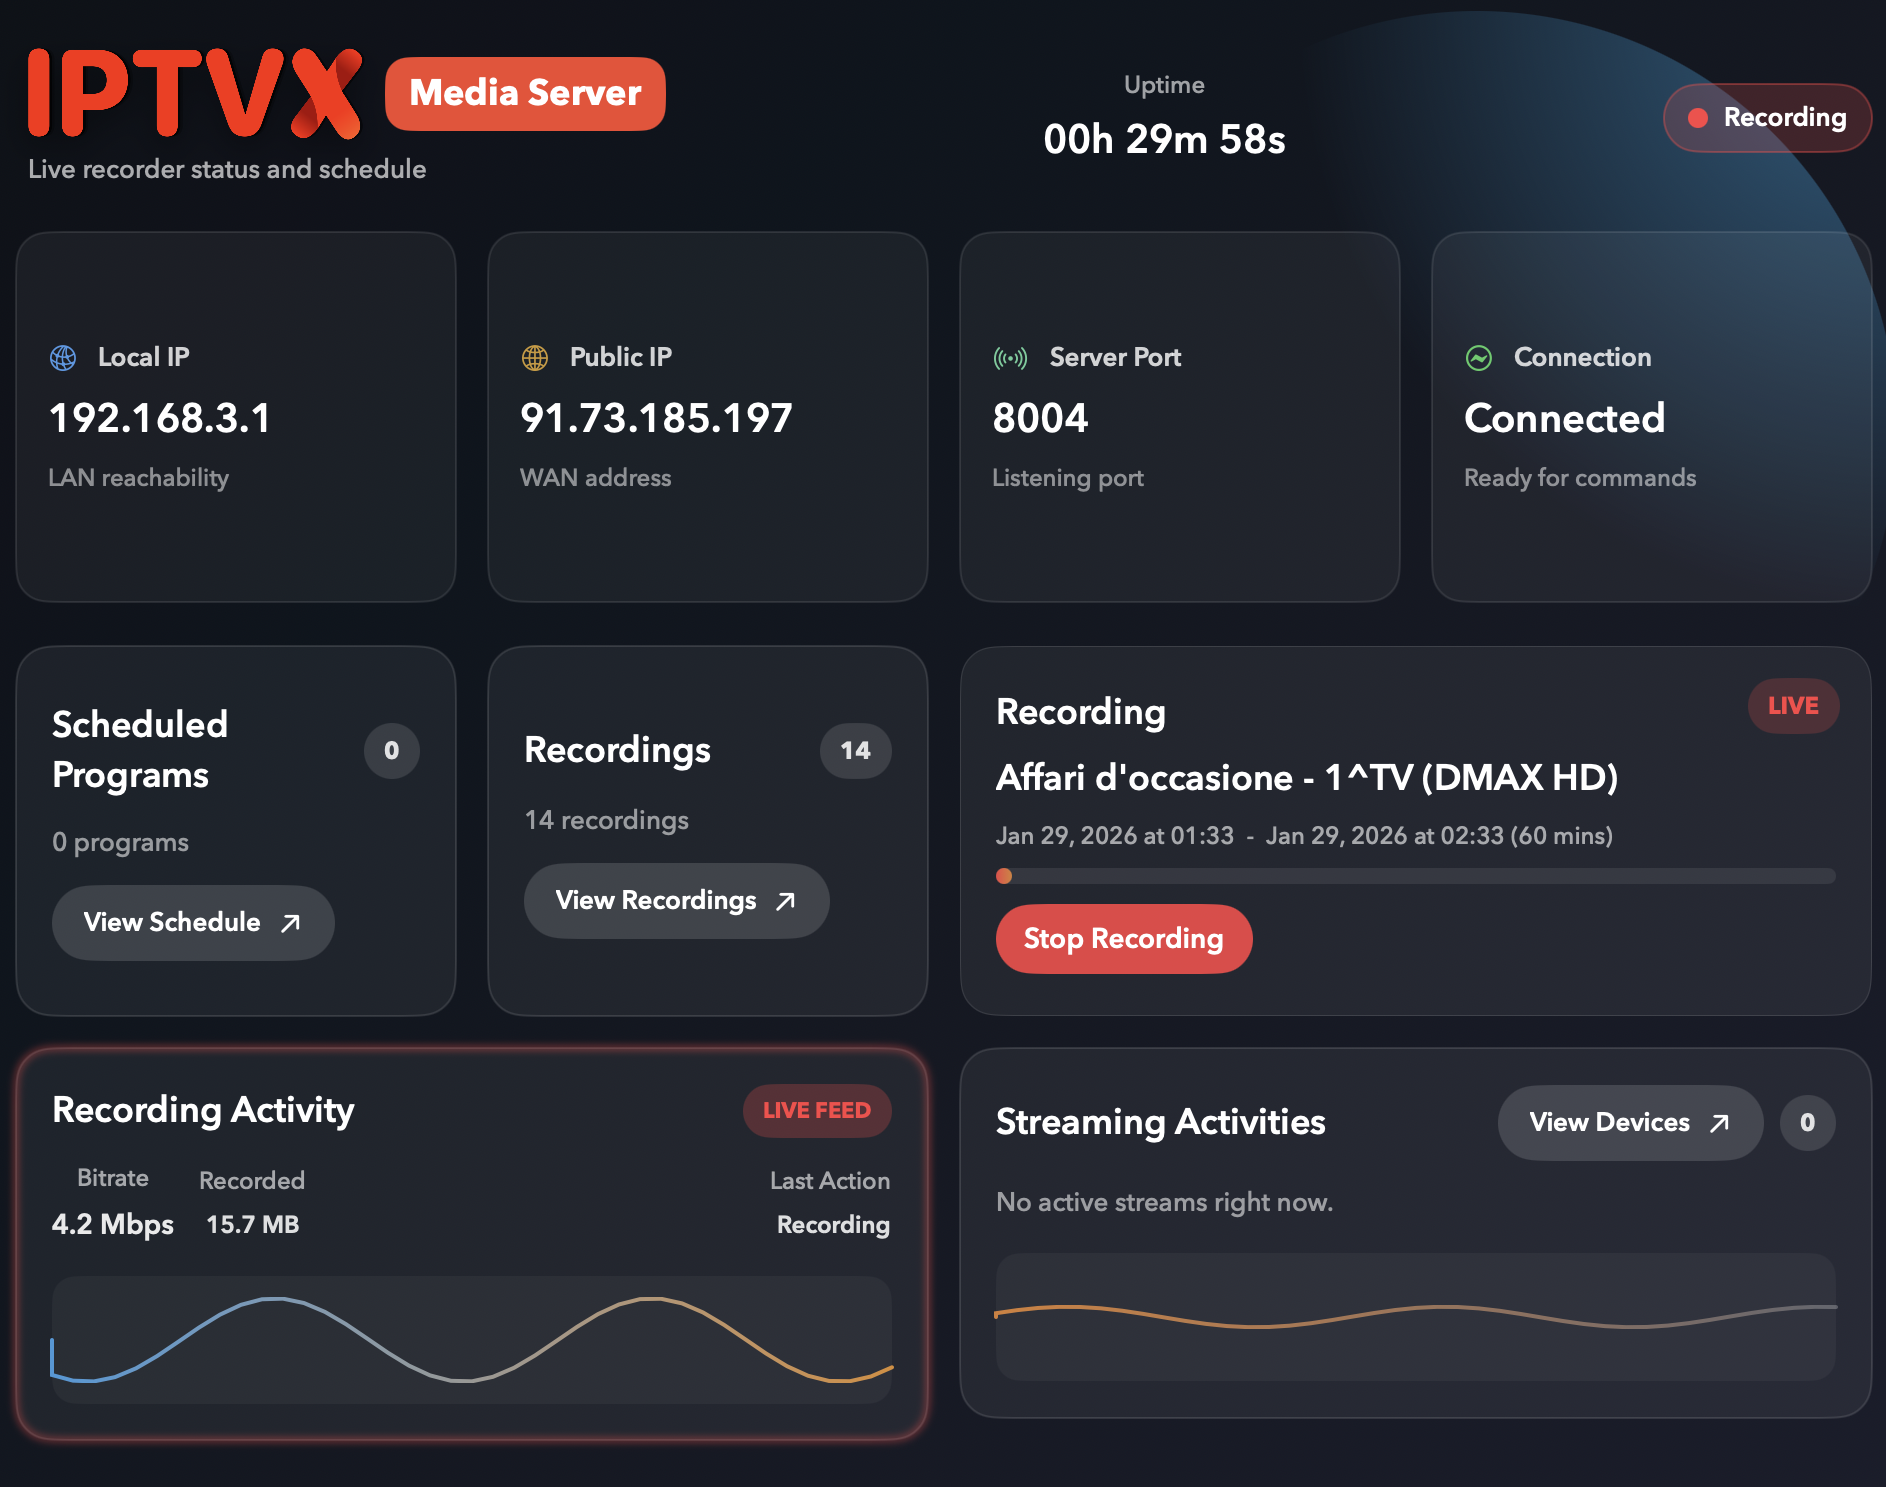
Record live streams, manage scheduled programs, and monitor activity in real time.
Stream recordings from the local network or externally using secure remote access.
Create personal media collections and playlists that can be shared across your devices.
Access
Open the web UI without login on first access, then set a username and password inside settings.
Use your NAS or Mac IP address and the configured port to access the server from any device on the same network.
When accessing from outside your network, use your public IP or DDNS with the configured port.